Launching Your First EC2 Instance on AWS
Step-by-step walkthrough of launching and connecting to your first EC2 instance on AWS
Launching Your First EC2 Instance on AWS
Launching Your First EC2 Instance ☁️
This project demonstrates how to launch an EC2 instance on AWS, configure key pairs, choose an OS, set up networking, and connect to it.
In addition, we cover creating EBS snapshots, and configuring Recycle Bin retention rules to prevent accidental data loss.
Lab Overview 🖼️
This is the general workflow for launching an EC2 instance on AWS.
1. EC2 Instance Setup ⚙️
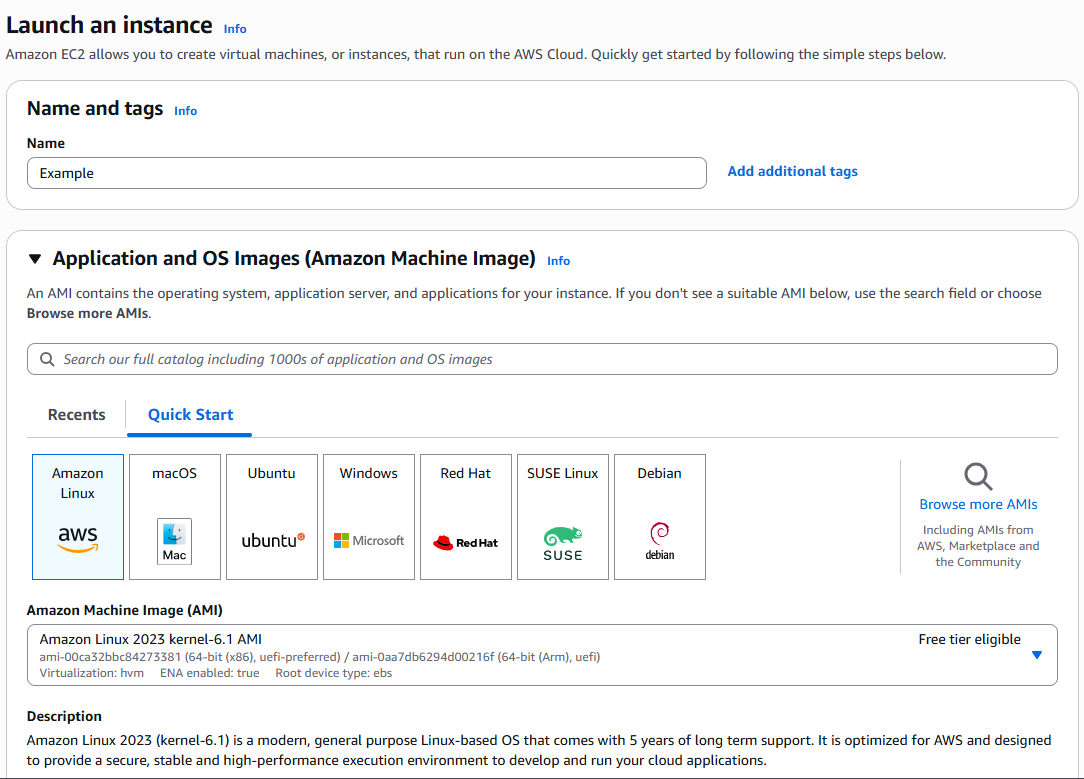
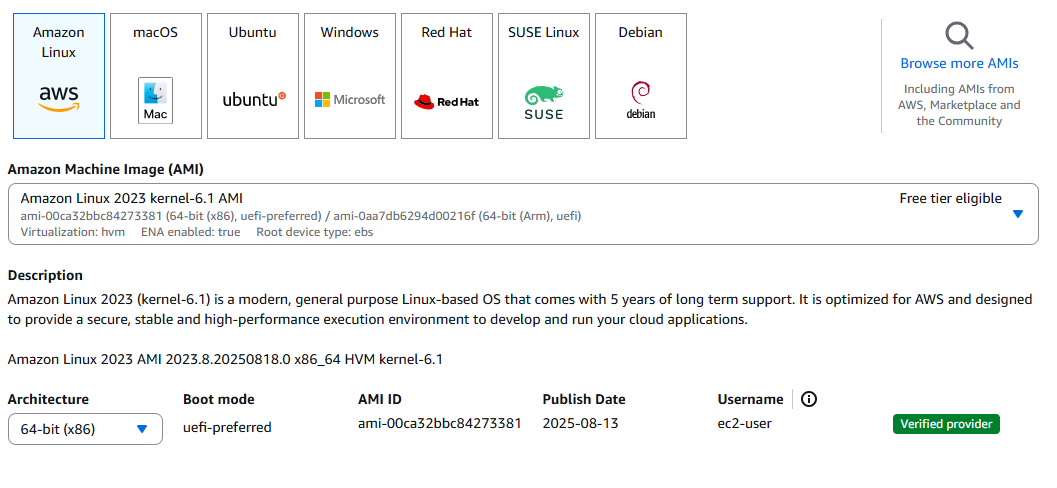
Choosing an AMI (Operating System)
- Selected the desired OS for the EC2 instance:
- Amazon Linux 2023 – in this case
- Ensure the OS matches your project requirements
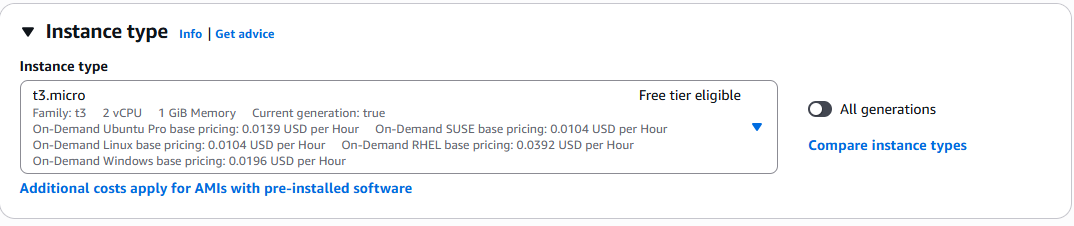
Selecting Instance Type
- Chose t3.micro for free-tier eligibility
- Verified CPU, memory, and cost suitability
Key Pair Configuration
- Created a new key pair for SSH access
- Downloaded the
.pemfile and stored securely

2. Network & Storage Settings 🌐💾
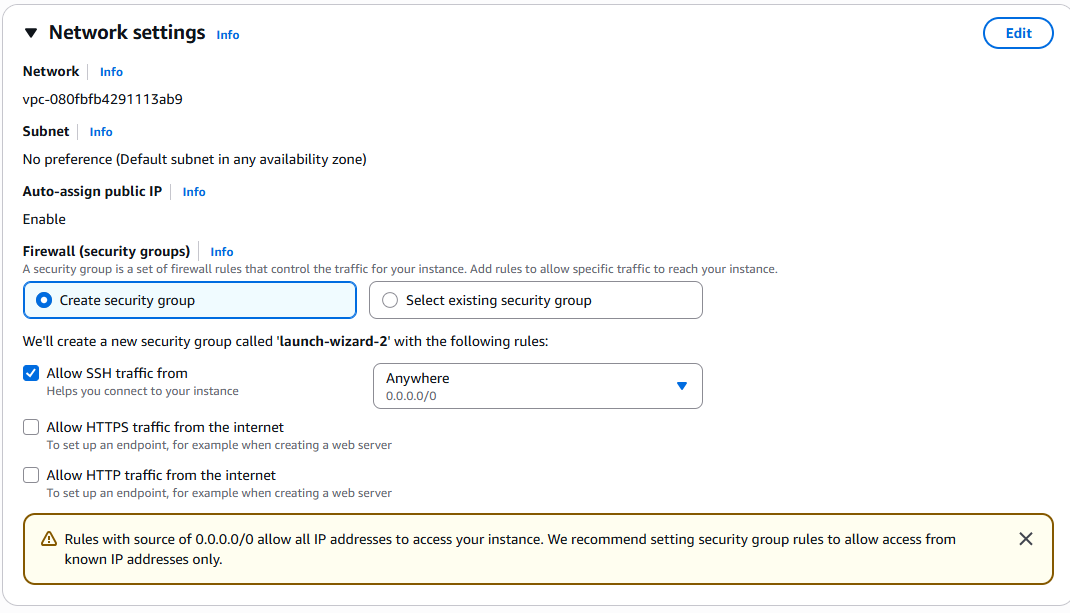
Networking
- Selected default VPC and subnet
- Configured security group rules:
- SSH (port 22) open for your IP
- HTTP/HTTPS optional if running a web server
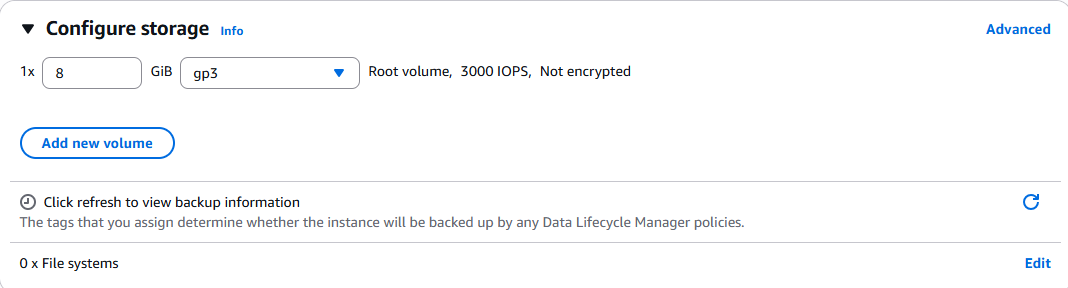
Storage
- Attached default 8 GB EBS volume
- Optionally increased storage based on use case
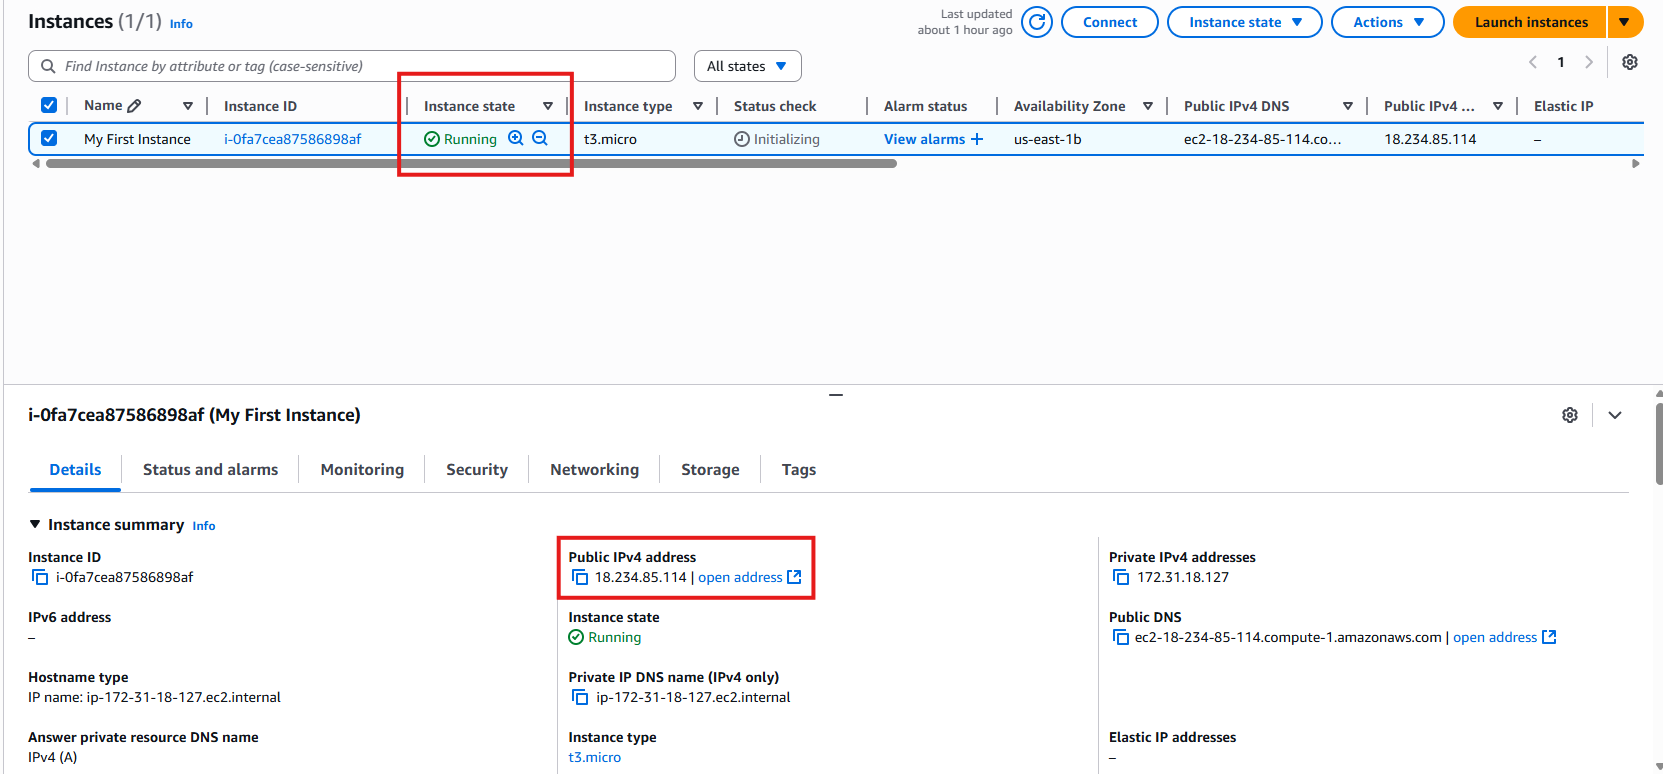
3. Launching the Instance 🚀
- Reviewed all settings
- Launched the instance
- Verified status as running
4. Connecting to the Instance 🔗
- Open your terminal or CLI
- Go to where you saved your key pair:
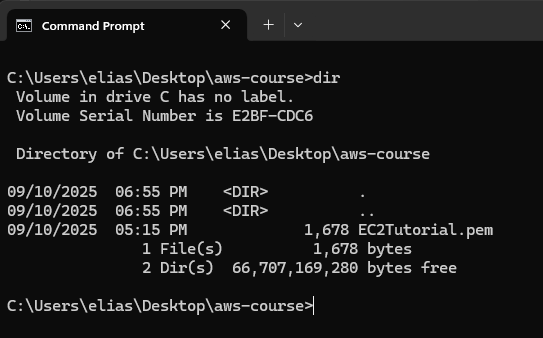
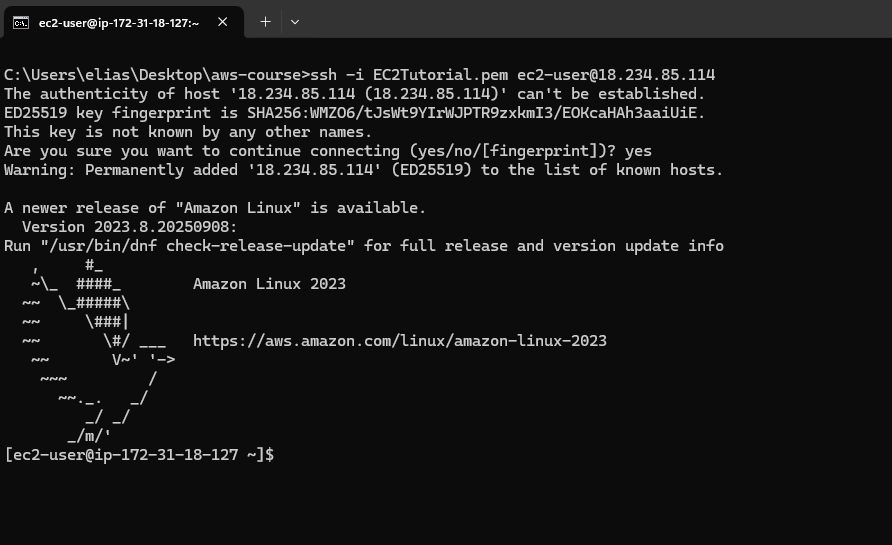
- Connect via SSH:
1
ssh -i "my-key-pair.pem" ubuntu@<Public-IP-Address>
- You should now be logged into your EC2 instance
5. Creating an EBS Snapshot 📸
- Navigate to Elastic Block Store > Volumes
- Select the target EBS volume attached to your instance
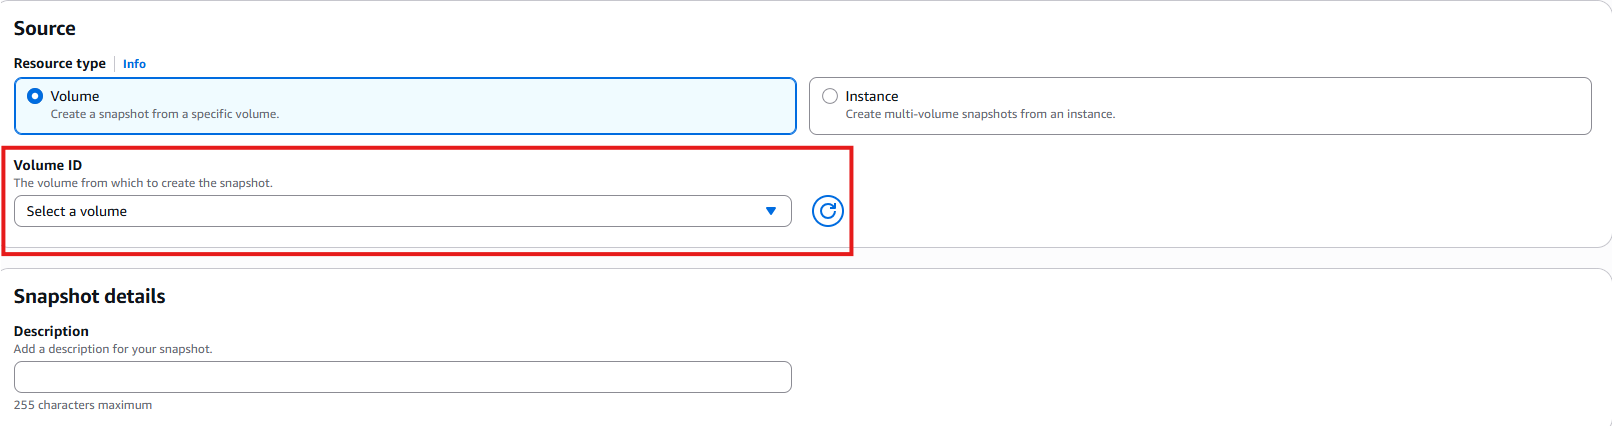
- Click Create Snapshot, add a description, and confirm
The snapshot is now created and stored safely in AWS.

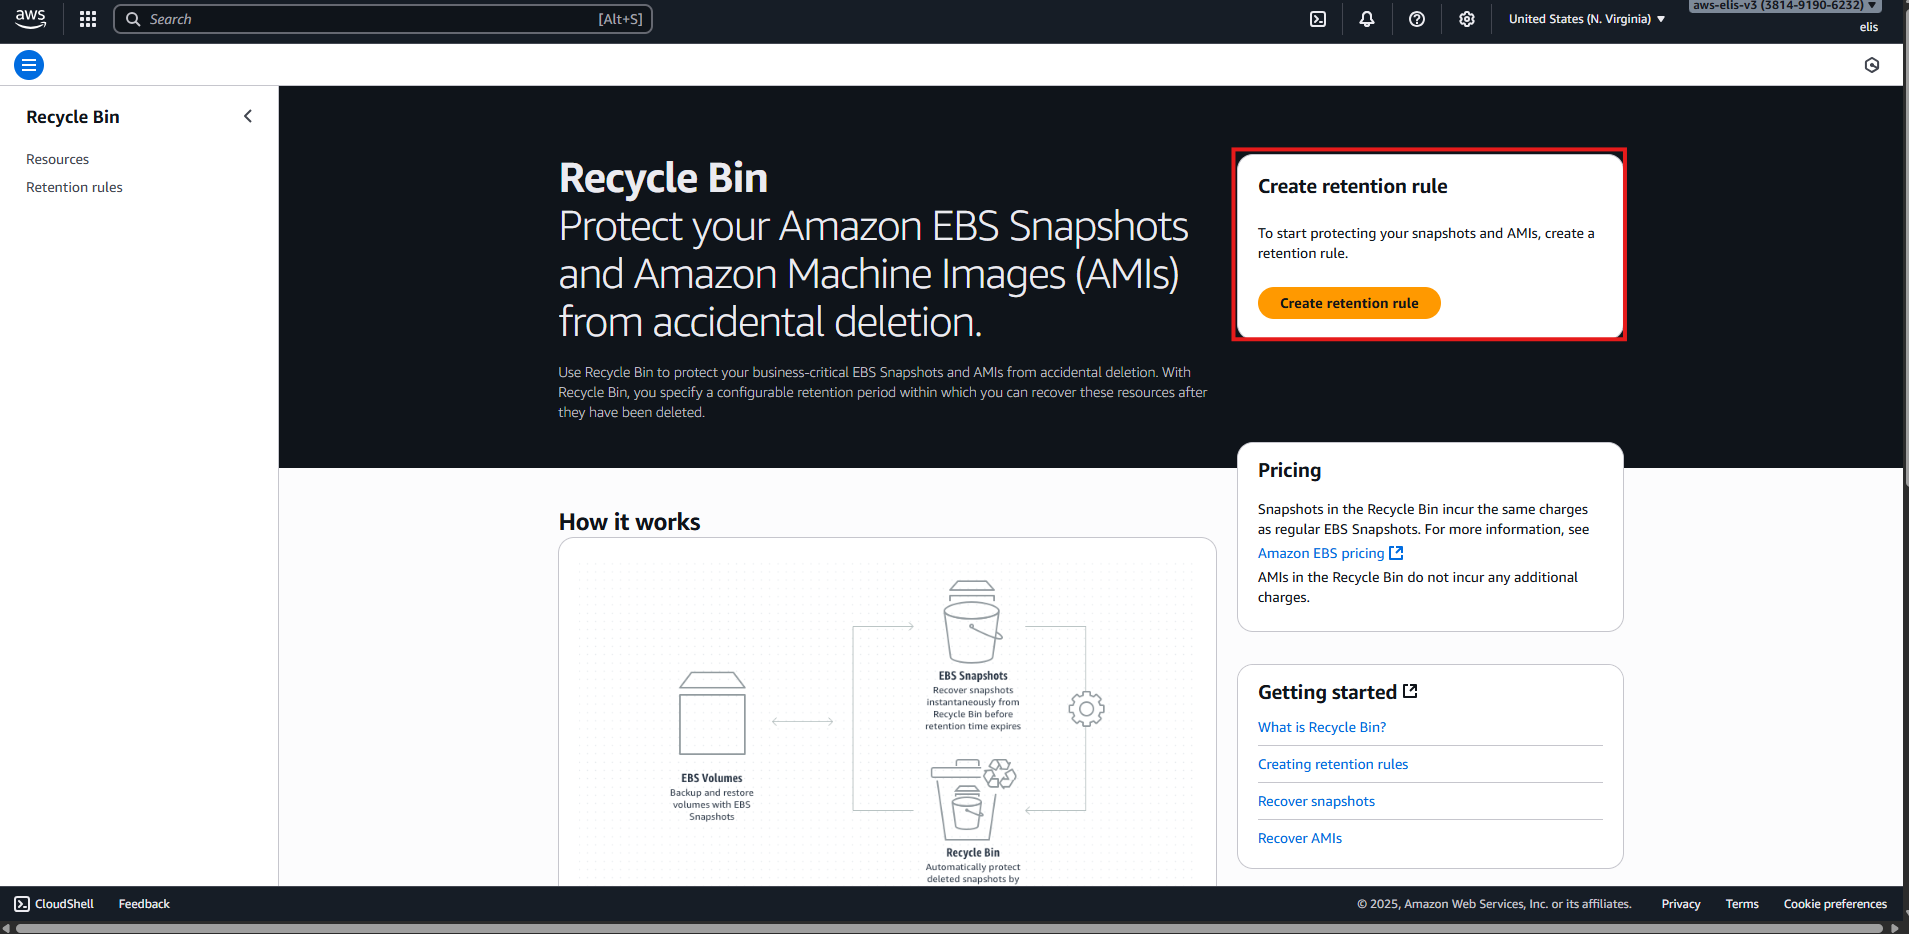
6. Enabling Recycle Bin ♻️
Accessing Recycle Bin
- Go to Recycle Bin in the AWS console

Creating a Retention Rule
- Create a rule for EBS snapshots with 1-day retention
- Keep “Unlock” option checked (allows modifying or deleting rule later)
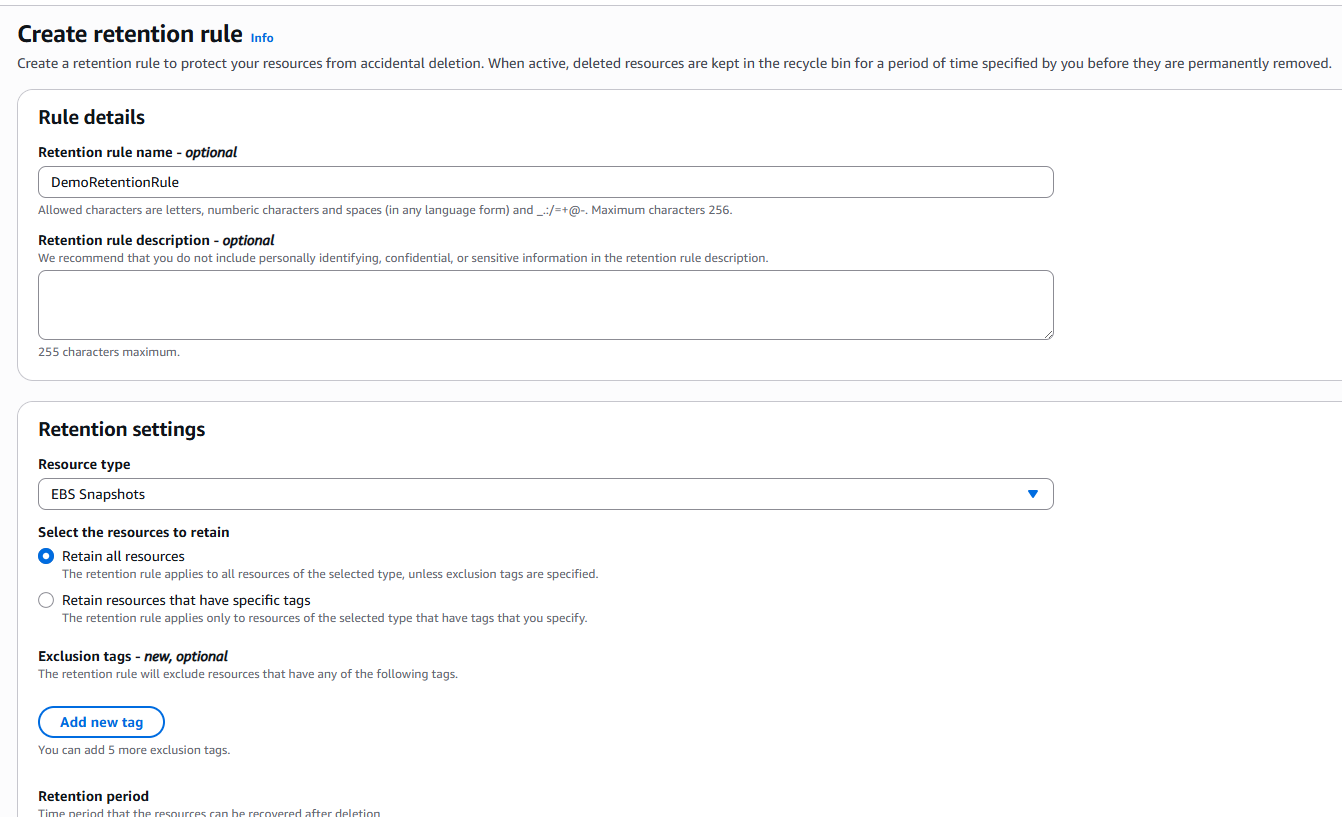
This ensures that even if someone deletes a snapshot, it will be recoverable for 1 day.
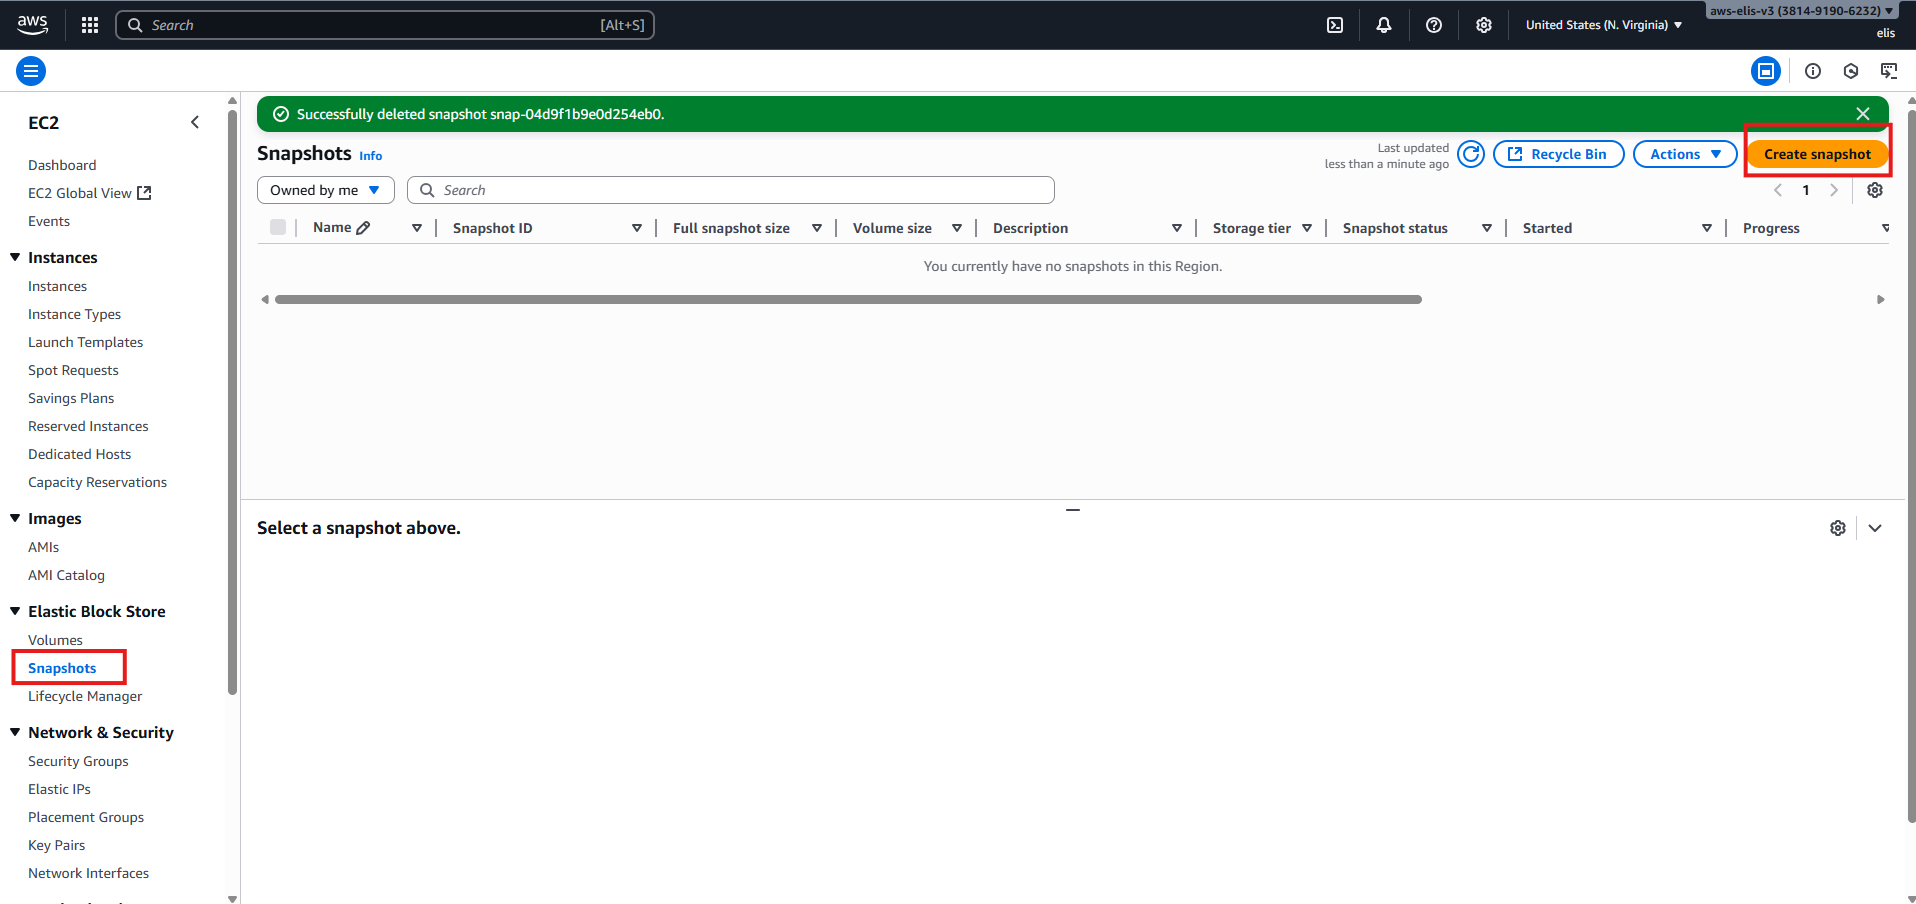
7. Testing Snapshot Deletion and Recovery 🧪
- Deleted the snapshot manually from the Snapshots console

- Verified it appears in Recycle Bin

- Recovered the snapshot successfully

This proves that the retention rule works and can protect from accidental deletions.
Lessons Learned 📚
- How to select an AMI and instance type for free-tier or custom needs
- Key pair creation and secure storage
- Configuring networking and storage options for EC2 instances
- SSH access to Linux-based instances
- Creating and restoring EBS snapshots
Future Work 🔮
- Launch multiple EC2 instances and test networking between them
- Automate EC2 deployment with AWS CLI or CloudFormation
- Install and configure web servers, databases, or other services
This post is licensed under CC BY 4.0 by the author.